Search This Blog

And have under-cabinet lighting!!  Woohoo!
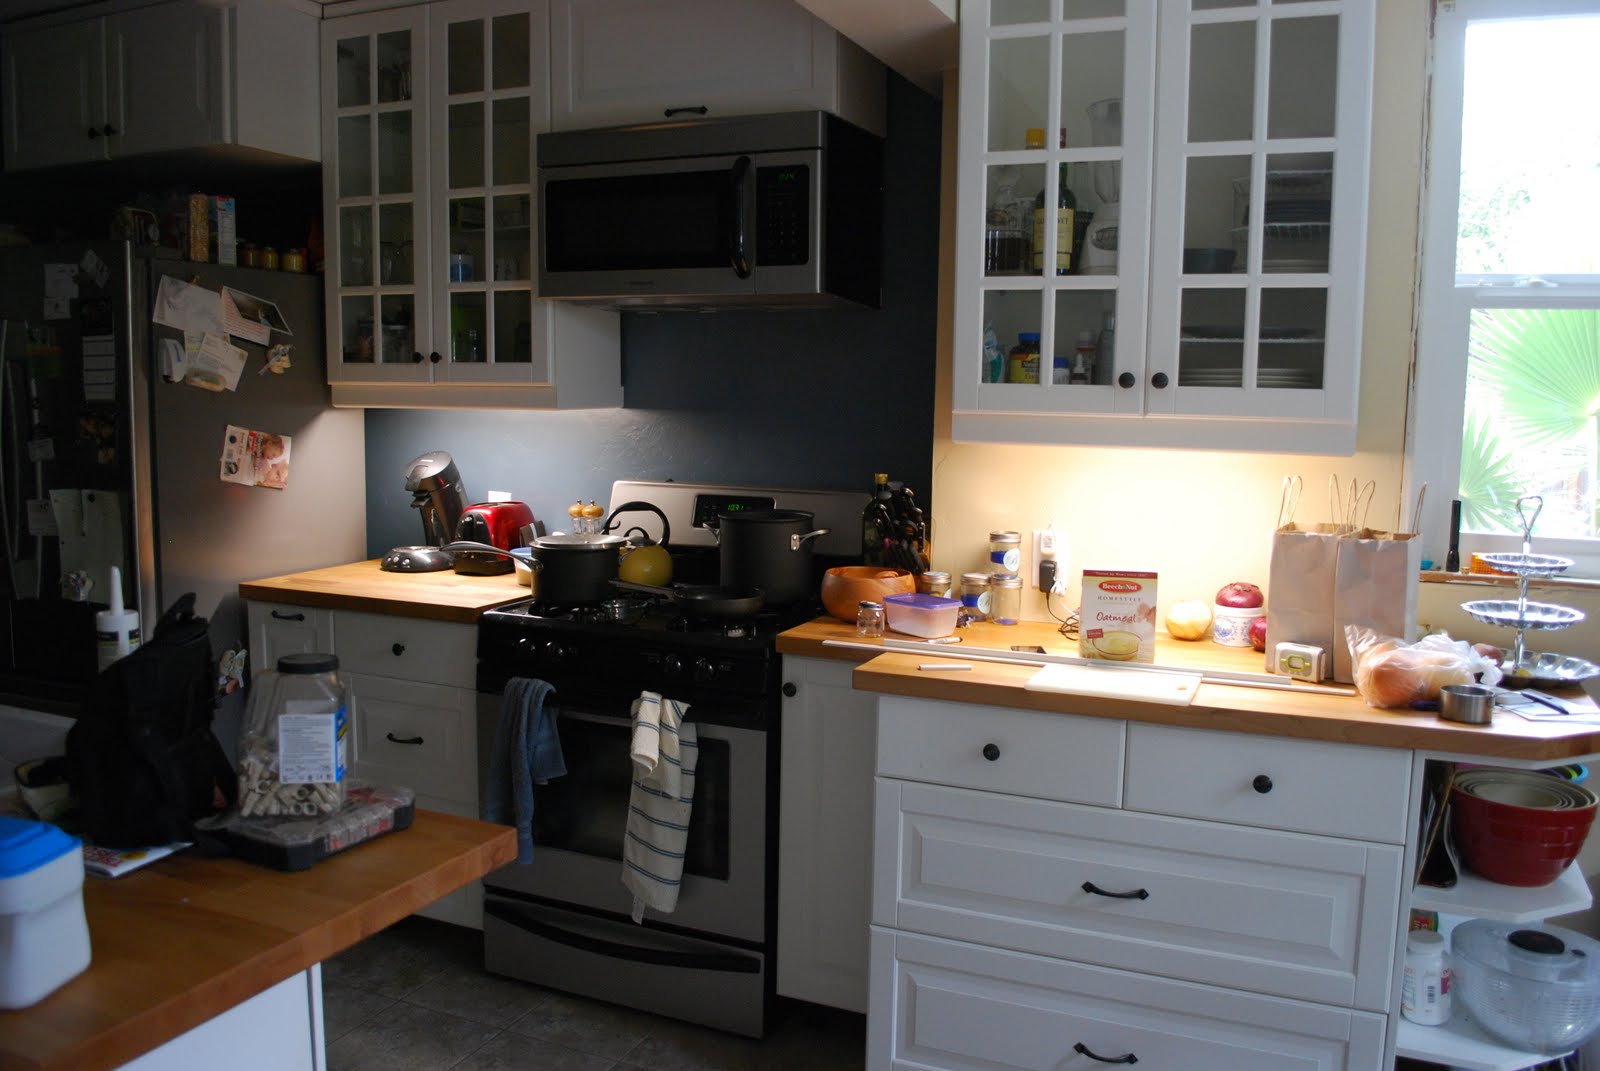

That's something to get excited about!  Since the kitchen is about 90% done, and fully functional, that last 10% just seems to linger. 

But we try to eek in a small project here and there. 

And I guess it makes every task that gets done seem like a major triumph.  Thank goodness we did the majority of the work before Rowan came along!

To get this mini project done, we used:

-Flourescent under-cabinet lights (2)
-Ikea under-cabinet moulding*
-Drill
-Screwdriver
-Chopsaw

We placed the lights as close to the front of the cabinets as possible, as recommended by the lighting manufacturer.

*Tip:  Use caulk to close any gaps in your undercabinet moulding.  Applied to just one side, it blocks the light from shining through!


Our narrow asphalt driveway {and the HUGE juniper covering three feet of it} became extremely inconvenient when Baby came along.  There was barely enough room to park both our cars anyway, but we got by, cautiously opening the car door and inching our way out, using our best contortionist skills so as not to damage each others vehicles.  Add a baby, infant car seat, and a stroller to the mix and you don't have a pretty picture.  I ended up parking half my car on the grass {and by "grass" I mean assortment of dried weeds}in order to give us some room to move around.

Our house was in desperate need of a new driveway.  We considered pavers....until we got a quote that shot our aspirations to Hell!  Pavers require some serious dollar bills.  So, we "chose" concrete instead.  And to give it a little pizazz, we went with a stamped border and pathways.

We knew we wanted it widened about three feet on both sides, and we knew we wanted the path to the back yard gate widened enough to roll out the garbage and recycle bins {I know, a lot to ask, right?}, and that's about it.  As far as aesthetics of a driveway go, we were pretty clueless, but with the help our our neighbor {WWBD}, and the expertise of the man who did our driveway, we ended up with something we absolutely LOVE!

Preparing the ground

Form setting and rebar

Good thing Rowan supervised the cement pour
Goofing around
Stamping
DONE!
Oops, don't forget the baby feet!
And our name.
It was amazing to watch these guys do their work!  We had to water the drying cement twice a day and stay off of it for two weeks.  And we just got the stamped portion sealed today, to make it look pretty {and protect it}.

WooHoo!  We find ourselves checking it out multiple times a day.  I'd say it's a very satisfying improvement.  an't wait to use it!


Working on the house has slowed down a LOT since Rowan was born, but we're getting things done here and there.

We've been thinking about new windows for a while.  Our old windows were the originals, and while. I liked them for their character, but they were terribly inefficient.  With winter upon us, and a little one to keep warm, we bit the bullet and got ALL windows replaced.


The new windows are double-pained vinyl with a UV barrire.  Ideally, I would've liked to have some more time and money to put larger windows in. However, retrofit windows go in super quickly and easily, AND we didn't need a permit!


Ultimately, we think this update was a great decision.  The new windows look nice, and hopefully, our heating bill won't be as outrageous this month.


Related Posts Plugin for WordPress, Blogger...